Jan
18
2010
Edited to add: I’ve officially changed blogs. Here is a link to my new home:
New Splashes of Watercolor
Thank you so much for your patience while the SCS blogs have been down or at least a little wimpy! I hope you’ll change your links and subscriptions to reflect my new blog address and I most certainly hope that you’ll visit me there often!
I apologize profusely for the inconvenience that I know this causes for you, and I look forward to seeing you at my new home!

I’ve been trying to post for 3 days now, but am not able to publish a post with photos. What good is a stamping related post without photos, right?? So temporarily (or maybe not), I’m publishing here:
Temporary Splashes of Watercolor
Thanks for your patience and trouble while I figure this out!!
Broni
Jan
13
2010

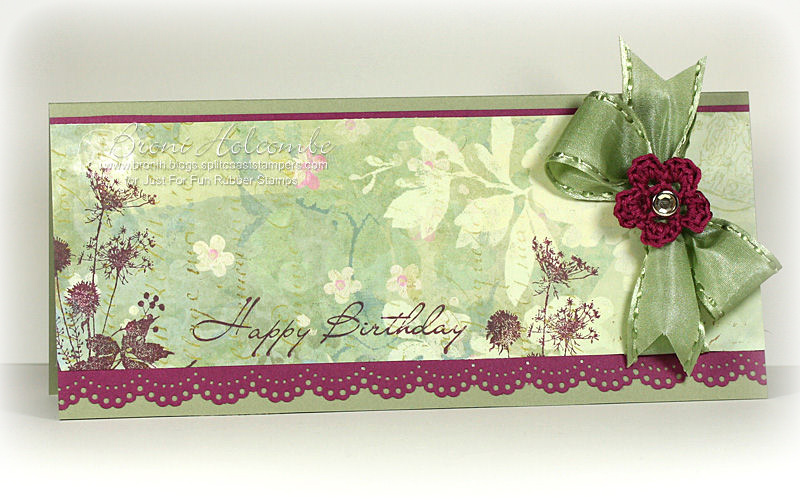
Color Throwdown #75. Wow! That’s a lot of challenges!
This week LeAnne is our hostess and the color combination she came up with is gorgeous!
~
~
It’s also Kisa’s birthday! Kisa is our favorite graphics designer, creating all our little buttons and blinkies. So Happy Birthday, Kisa!!
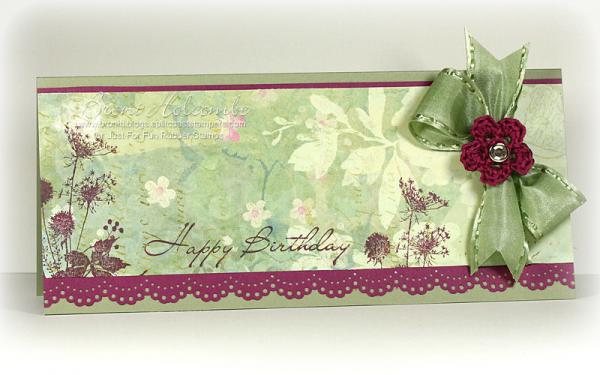
I used the Queen Anne’s Lace image and the Happy Birthday sentiment, both from Just For Fun Rubber Stamps ®.
We’d love for you to play along with us! Check out all the details at the Color Throwdown blog. That’s where you’ll link your creation. Now check out what the design team has come up with for you:
~
Barbara * Cathy * Danielle * Kristin
LeAnne * Tammy * Deb Horst (Guest Designer for December)
~
Thanks for visiting! I hope you have a wonderful day!

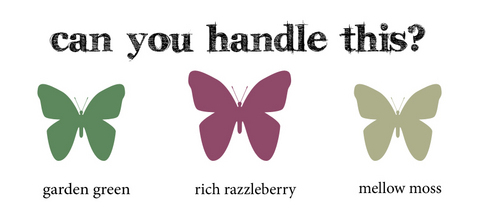
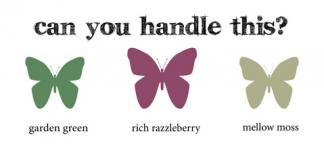
- Stamps: Queen Anne’s Lace (F2716), Happy Birthday sentiment (D2995) (Just For Fun Rubber Stamps ®)
- Paper: mellow moss, rich razzleberry, Brenda Walton Madeline paper pad (K & Company)
- Ink: rich razzleberry
- Other: Martha Stewart doily lace punch, May Arts ribbon, (Rubbernecker Stamp Co.), crocheted flower, rhinestone brad
Jan
12
2010
Just For Fun Rubber Stamps ® is having a Year-End Holiday Special of 25% off all items on the site through January 31, 2010.
It’s their way of thanking you for your patronage throughout the year and wishing you Happy Holidays!
See you tomorrow for another Color Throwdown challenge!
Jan
08
2010

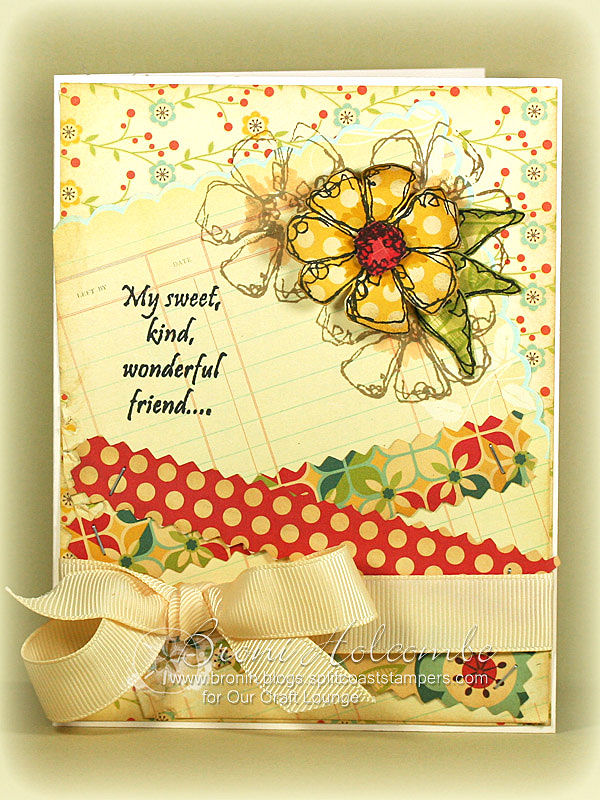
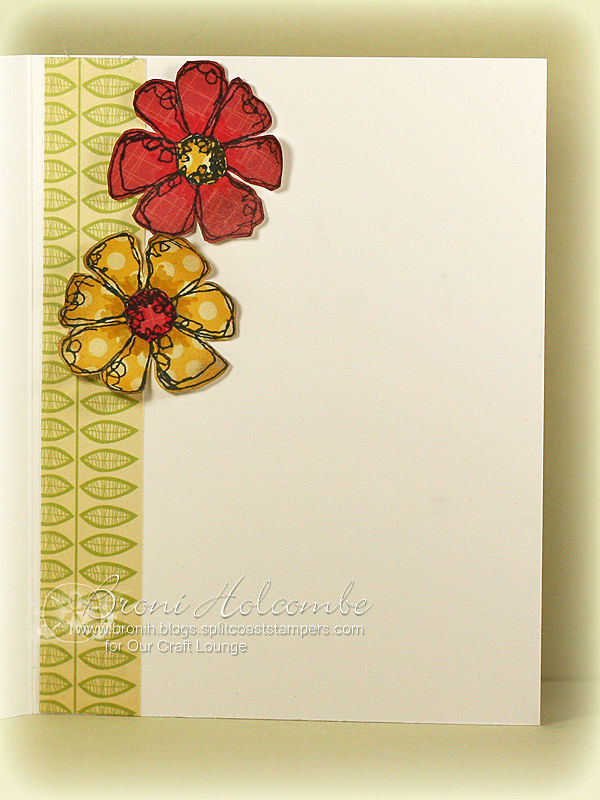
It’s Cambria’s birthday!! And to celebrate, a bunch of her friends are posting Happy Birthday cards today!
So of course I pulled out one of my stamp sets from Our Craft Lounge – Whispy Blooms. Here’s a card from me to you, Cami!

~
I hope your day is as special as you are!

This card is on it’s way to you now, and I can’t wait to see you in a couple of weeks and give you a big birthday hug!
If you’d like, you can send Cambria some birthday wishes right HERE.
Thanks for visiting today!
** On a side note, Just For Fun Rubber Stamps has a special announcement today. We’re so thrilled to be welcoming a new design team member, Terre Fry! Yay! Welcome to you, Terre!
- Stamps: Whispy Blooms (Our Craft Lounge)
- Paper: vanilla (Papertrey Ink), Early Bird mini deck (Cosmo Cricket), {note}worthy (Making Memories
- Ink: Memento tuxedo black, Ranger Distress antique linen and frayed burlap
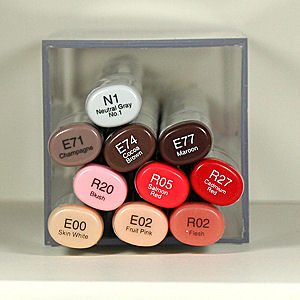
- Other: sponge dabber, pinking shears, Tiny Attacher (Ideology by Tim Holtz), vanilla grosgrain ribbon (SU), foam tape, Copic markers: E21, Y26, R22, YG93
Jan
06
2010

Yeah! It’s time for the very first Color Throwdown of 2010!! Can you believe another year has come and gone??
We’re also celebrating because we have a brand new CTD designer!! She’s so cool and so talented and I bet you already know her….Kristin Bueter!! And for her initiation, we’ve asked her to start the new year off by hostessing her first Color Throwdown challenge.
You may have seen that she’s designing the beautiful digital papers for Lauren Meader’s new store, My Time Made Easy. Well, Lauren has generously donated 2 prizes, each consisting of a template and 2 of the new paper packs, for this week’s challenge. And all the design team members were given the paper to use in our creations.
The colors that Kristin chose are straight from her papers called Fluttering-by and Shutt-erfly.
~
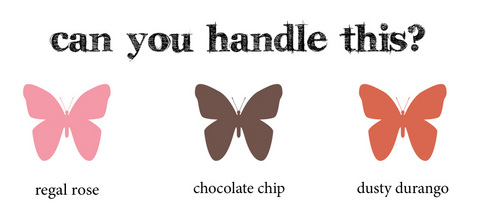
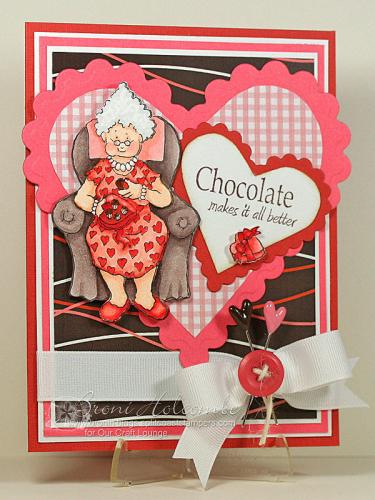
I’ve chosen Our Craft Lounge’s Granny from Granny’s Truffles to grace this week’s Valentine themed card. Isn’t she just too cute? Lovin’ that chocolate! The wavy line background paper and the sweet gingham paper are both Kristin’s creations.
Be sure to check out all the designers’ cool creations here:
Barbara * Cathy * Danielle * Kristin
LeAnne * Tammy * Deb Horst (Guest Designer for December)
~
You can get all the details and rules for entering the challenge HERE.
Thanks so much for visiting!
~
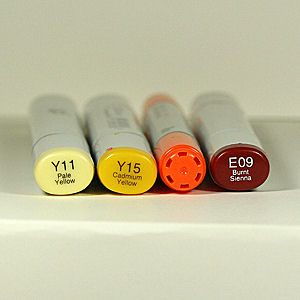
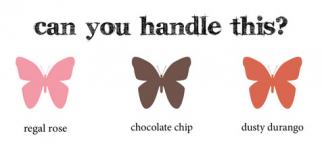
- Stamps: Granny’s Truffles (Our Craft Lounge)
- Paper: white, cameo coral, dusty durango textured, Shutt-erfly DP (designed by Kristin Bueter for My Time Made Easy)
- Ink: Memento tuxedo black, chocolate chip, Ranger Distress brushed corduroy
- Other: scalloped heart Nestabilities die, ribbon, button & twine (Papertrey Ink), Fashion Sense pins– Sassy & Harvest, sponge dabber, Copic markers:
Dec
31
2009

It’s only fitting that I should end the year with a thank you card for you! I am truly thankful for your visits and for your kind and thoughtful comments.

I hope you all have a beautiful, happy and prosperous New Year!

Thank you!!
- Stamps: Thankful Flourishes (Our Craft Lounge)
- Paper: white, Round & Round “Let’s Go” -Abbey Road (My Mind’s Eye)
- Ink: Memento tuxedo black, Versafine onyx black
- Other: Martha Stewart border punch, corner rounder punch, Cuttlebug Swiss Dots folder, Copic markers:

Dec
30
2009

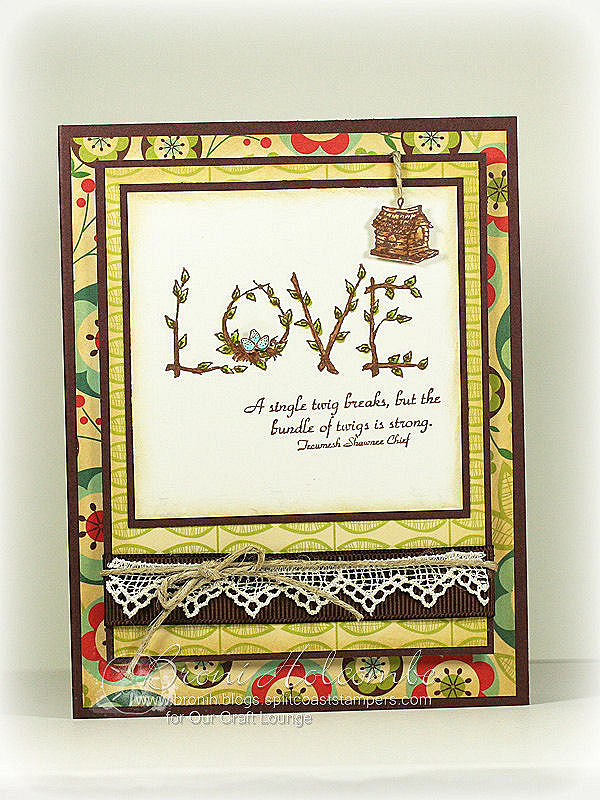
How about a card about LOVE today?
The stamp set: For the Love of Birds from Our Craft Lounge (gorgeous images)
The paper: Early Bird from Cosmo Cricket (I believe I’ll always love this paper!)
The tiny eggs and the birdhouse are popped up on foam tape.

Thanks for visiting today!
- Stamps: For the Love of Birds (Our Craft Lounge)
- Paper: vanilla, chocolate chip, Early Bird mini deck (Cosmo Cricket)
- Ink:Memento rich cocoa, Ranger Distress old paper
- Other: sponge dabber, ribbon (PTI), croceted lace, hemp twine, foam tape, Copic markers:
Dec
29
2009

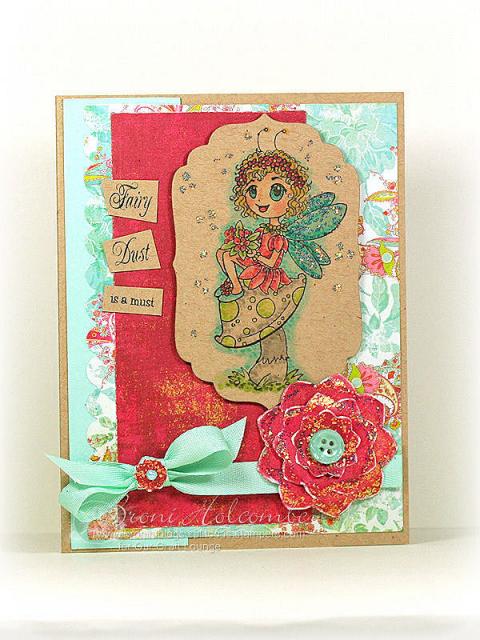
I wanted to play along with the technique challenge at Splitcoaststampers this week. I’ve never tried the Van Gogh technique before, but it sure was fun and I can’t wait to experiment some more!
I chose Fairy Dust is a Must from Our Craft Lounge to work with and decided to try it on kraft cardstock. I love it paired with the Basic Grey Lemonade 6×6 papers.
I’m so glad you stopped by!
Dec
28
2009

So did you shop the day after Christmas? I only went to a local pharmacy to stock up on Christmas wrapping paper and a few other things for next year. It was close and I didn’t have to fight the crowds! Just the way I like to shop!
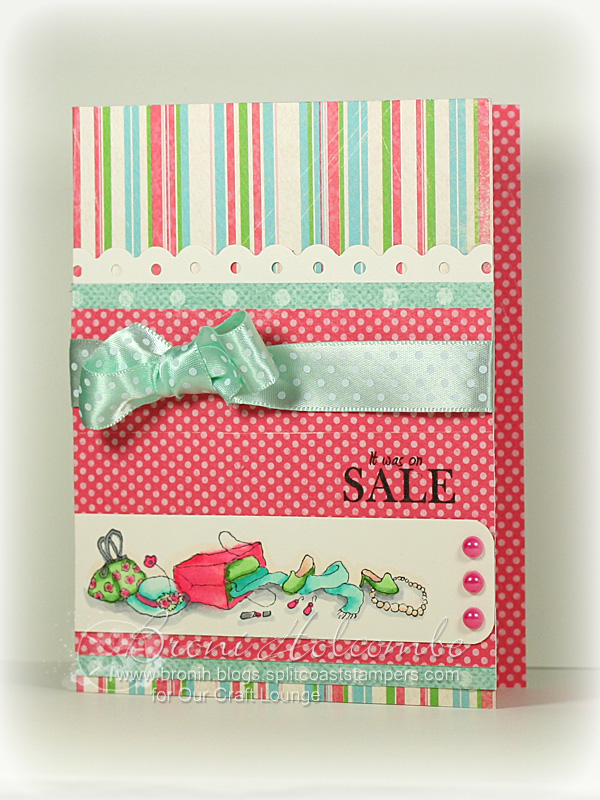
I’ve got a card to show you today using the Our Craft Lounge set Shop ’til Ya Flop. This is such a fun set!!

I guess I’m ready for the holidays to be over now, but it sure was fun spending so much time with the family. Especially all the grandkids…they are so much fun! They all had a happy Christmas, so all is well in their world. How simple a child’s life is!
I hope you have a wonderful week. Thanks for stopping by!
Dec
24
2009

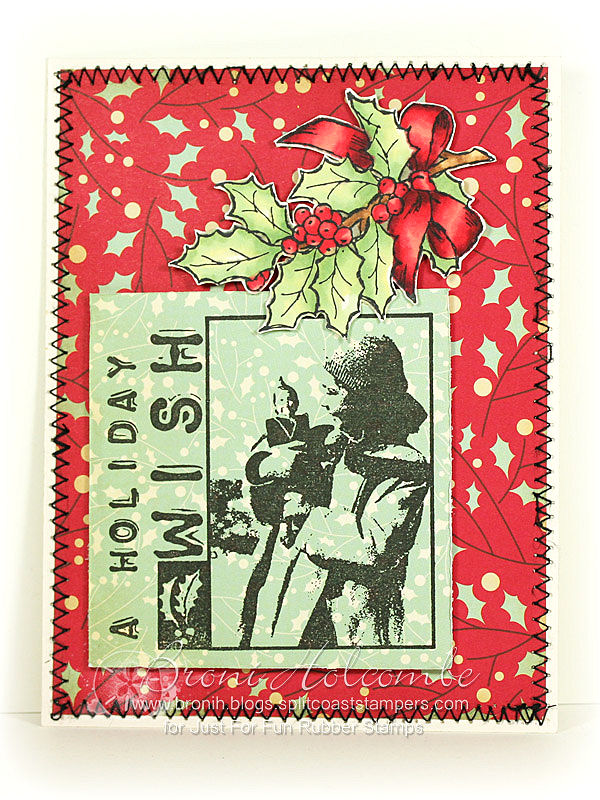
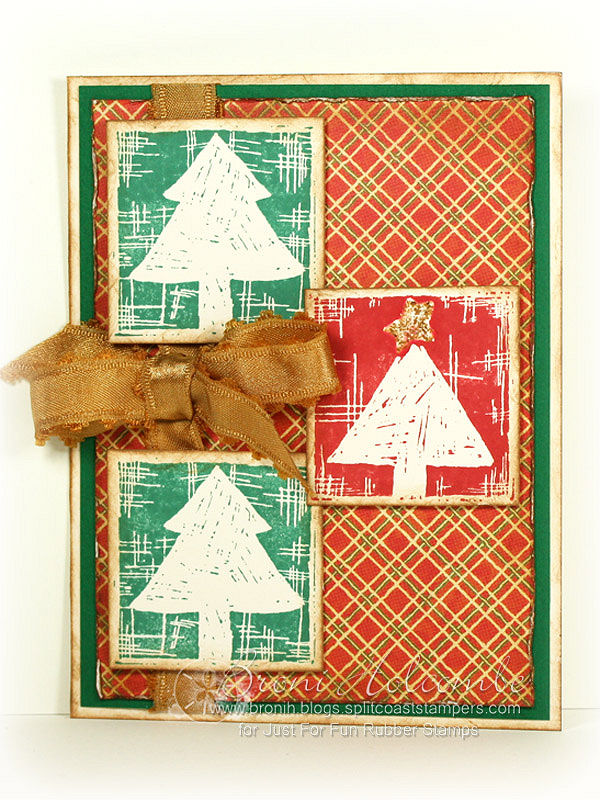
I have 3 more Christmas cards to show you. All have super-cool images from Just For Fun Rubber Stamps.
I love this little girl with her doll. The image is called A Holiday Wish (E3273). And I’ve used the beautiful Holly Swag (D2762) as well.

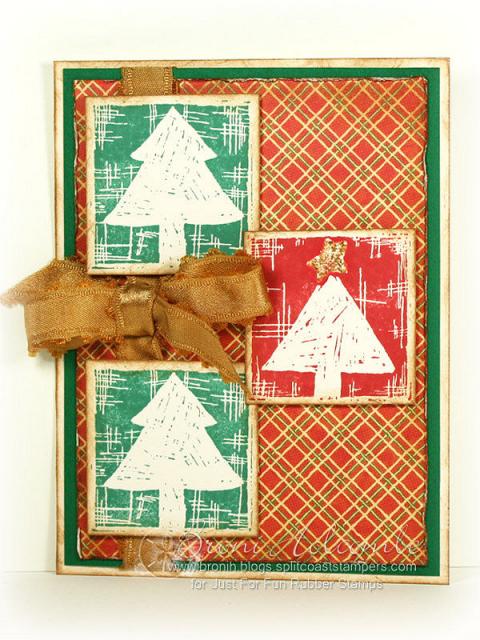
This next card is very rustic. It uses the 2 tree images that come together and are called Scratched Tree (C2927).
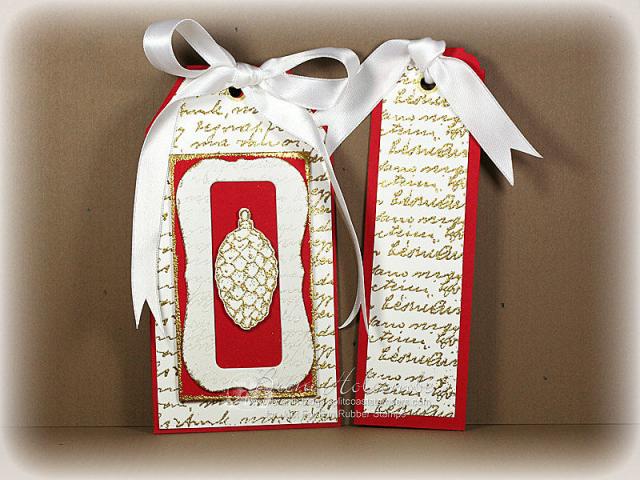
And this tag (the bigger one) was made for Kazan’s Sketch 42 at the 2 Sketches 4 You blog. I LOVE playing along with hers and Laura’s challenges. The images used are Pinecone Ornament (B2499) and Background Block (RB7001). I had some scraps so I made a second smaller tag too!
I want to wish each and every one of you that have visited me this year a VERY Merry Christmas and a happy and prosperous New Year!